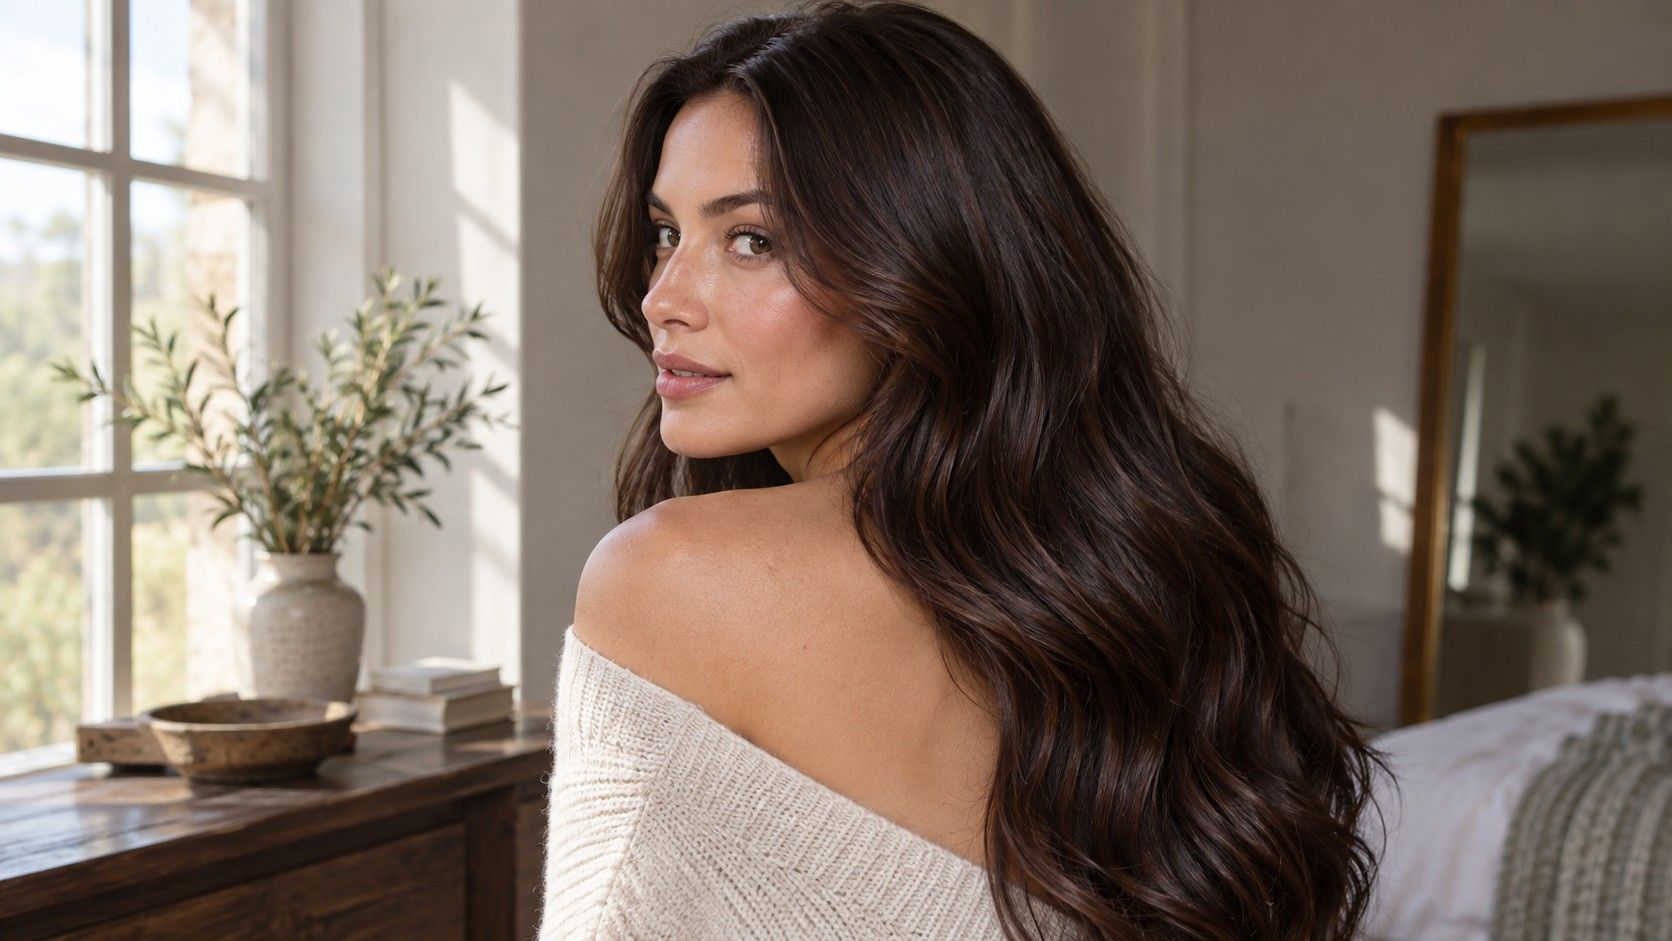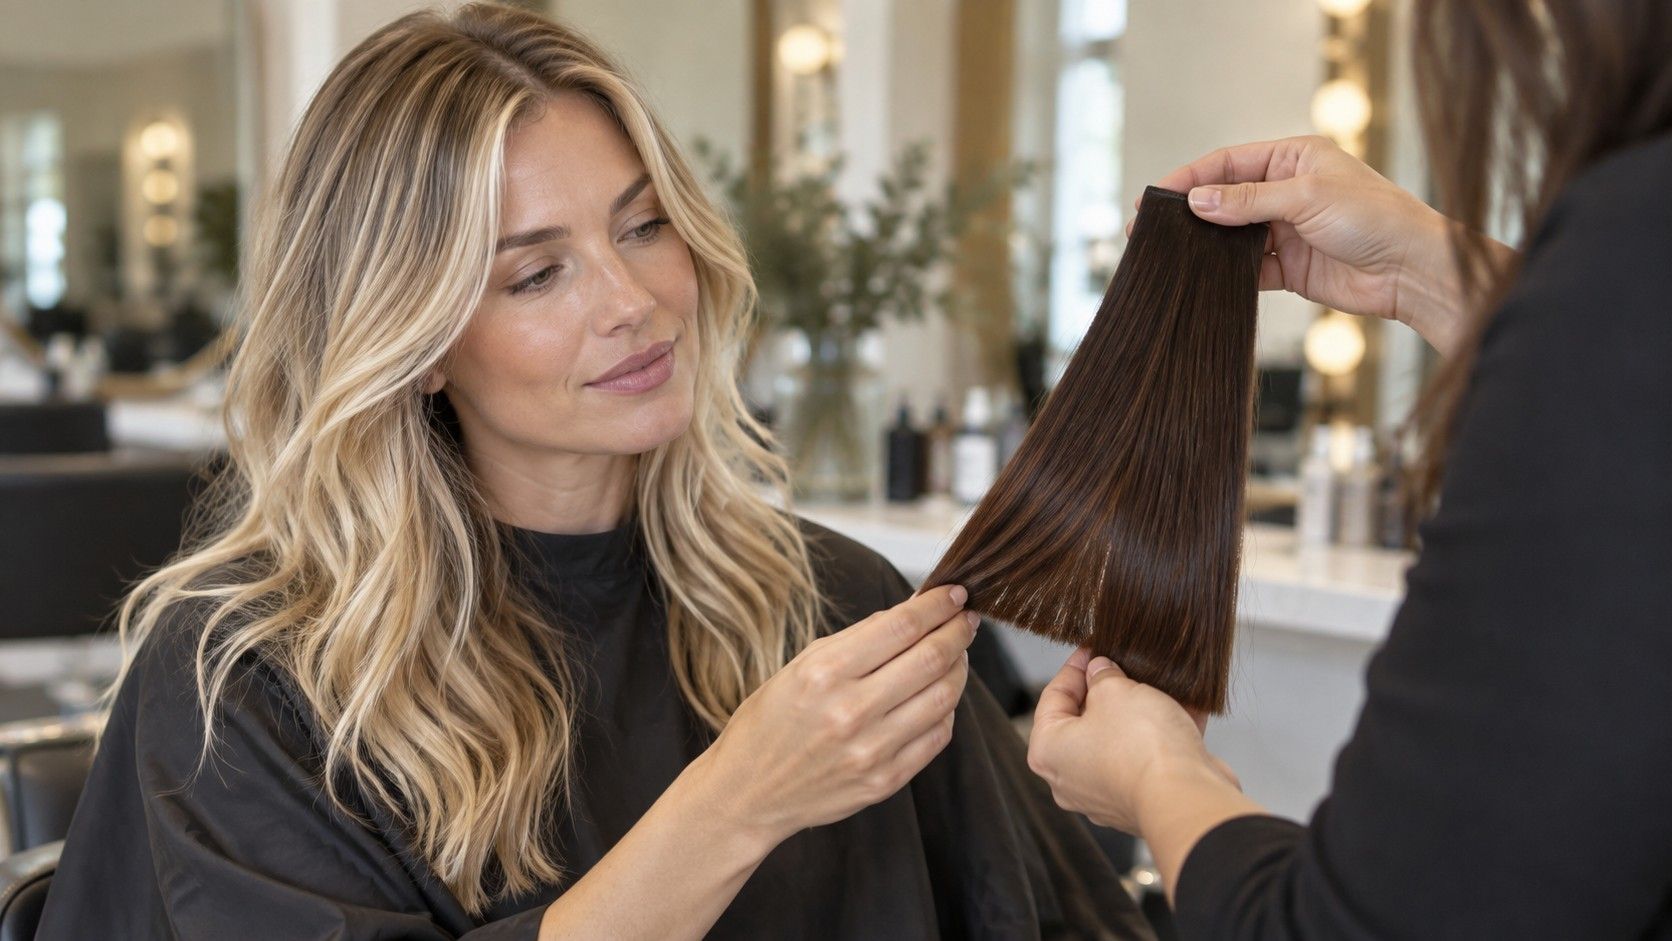
The first look in a bathroom mirror can make hot roots after hair color seem more dramatic than they are: the part looks coppery, the hairline appears almost luminous, and the mids and ends sit several shades darker. The mismatch is real in many cases, but its cause is not obvious from the color alone. Fresh natural regrowth, previously colored lengths, lighting, application order, and the starting shade can all affect the result. Sorting those clues before adding more dye is the safest way to turn an alarming first impression into a useful correction plan.
Check the difference in neutral light before reacting
Assess the hair when it is fully dry, with the usual styling products kept to a minimum. Wet roots often look darker, while glossy wet lengths can reflect the room around them and hide a tonal difference. Warm bathroom bulbs exaggerate orange and gold; cool LEDs can make the lengths look unusually flat or ashy. Stand near a window in indirect daylight and look at the part, temples, crown, mids, and ends separately. A photo taken without a beauty filter is useful because it freezes the comparison instead of letting the eye chase the brightest area.
Separate natural roots from previously dyed lengths
Check whether the issue is brightness, warmth, or both. Roots may be the same depth as the lengths but visibly warmer, which reads as a glowing band. In another case they may genuinely be lighter, especially at the fine hairline. Part the hair in two or three places rather than judging only the front. Fine temple hairs, denser crown growth, and a shadowed back section can process differently enough to create several small variations. If the contrast disappears in neutral daylight and returns only beneath a warm lamp, it may need monitoring rather than an immediate chemical correction.
Scalp symptoms belong in a different category from a cosmetic mismatch. Burning, blistering, marked swelling, spreading rash, breathing difficulty, or other signs of a reaction should not be treated as merely “hot roots.” Stop using the product and follow appropriate medical or emergency advice for the symptoms. A bright color at the scalp with comfortable skin is a color-placement problem; irritated skin requires a safety response first.
A head of hair that looks uniform before coloring rarely has a uniform color history. The first centimeter may be untouched natural regrowth. Below it can be a band from the last root application, then mids carrying several rounds of permanent color, and porous ends that have lost some tone. Applying one mixture from scalp to tips asks it to work on four different surfaces. The natural root can reveal warm underlying pigment as it changes, while artificial pigment buildup in the lengths can resist the same visible shift. That is a common route to roots brighter than ends after dye.
Previous color matters even when it was described as “close to natural.” Repeated brown or black applications can leave the mids optically dense. A new, slightly lighter shade may alter virgin regrowth without making old permanent color noticeably lighter. The result can resemble orange roots with dark ends after hair color, although the problem is not simply that the root formula was orange. The root changed; the accumulated color below it did not change in the same way.
Make a quick history map on paper. Note how much natural regrowth was visible, which areas had permanent dye, whether the ends carried direct or semi-permanent color, and where lightener had ever been used. Include glosses and colored conditioners, since they can affect the way a correction is evaluated even when they are not permanent. This map is more valuable than calling the whole head “dyed brown,” because it shows why another all-over application may repeat the unevenness.
Understand why one formula can act differently in two zones
The scalp area is a warm working environment, and the newest growth has not experienced the weathering, previous dye, or product history of the lengths. That combination can make the root zone change faster or reveal more warmth. The effect is often strongest along the fine hairline, where strands are smaller and the contrast with the skin is easy to see. It can also form a band just beyond the scalp if product placement or processing timing varied.
| What you see | Useful clue | What it may suggest |
|---|---|---|
| Warmth mainly at the part and hairline | Natural regrowth was processed close to scalp | Scalp-zone response and exposed underlying warmth |
| Roots lighter as well as warmer | Lengths contain older permanent color | Natural root changed more than pigment-loaded lengths |
| A narrow bright band beyond the newest root | Overlap or timing varied between applications | Uneven application history rather than one uniform cause |
| Patchy warmth around temples or crown | Section size or saturation differed | Uneven coverage, density, or placement |
Application order adds another variable. If the front hairline was coated first and rinsed last, it had more time in contact with the mixture than a dense back section coated near the end. Large sections can leave the inner hairs less saturated. Conversely, dragging fresh permanent color through the lengths can deepen them while the roots lift warmer, increasing the contrast from both directions. None of these observations identifies a universal fix, but they narrow the question from “Why did my dye fail?” to “Which zone behaved differently, and why?”
Pause before putting another permanent color over everything
The urge to cover the bright area immediately is understandable, especially before an event. An all-over darker permanent dye may make the hair look closer for a few days, yet it can also deposit more artificial pigment into already dark lengths. When the next root grows in, the same imbalance becomes harder to correct because the mids have gained another layer. Reapplying a lightening process to the root without knowing the cause carries a different risk: overlapping onto a recently processed band can add avoidable damage and still leave uneven warmth.
Give the result enough time to assess it dry and in more than one light, while following the product instructions about rinsing and aftercare. Do not improvise household “color removers,” harsh cleansing mixtures, or heat tricks in an attempt to seal or strip the color. They do not diagnose the root-versus-length problem, and irritation or dryness can make the next correction less predictable. If the mismatch is mild, a professional may choose a controlled tonal adjustment; if depth differs substantially, the plan may need separate treatment for separate zones.
Hair condition sets a boundary around any correction. Stretchy wet strands, unusual breakage, a sore scalp, or highly porous ends are reasons to pause chemical processing and seek qualified advice. Even when the roots feel strong, the correction has to account for the weakest section because rinse water and overlapping product travel through the lengths. Cosmetic urgency does not make the hair more able to tolerate another service.
Document the products and timing for a correction appointment
Bring the box, tube, or a clear photo of the exact product label if you still have it. Record the shade name, whether the hair was freshly washed or carried styling buildup, the order in which sections were coated, the approximate time the first and last sections were processed, and where the mixture was pulled through old color. Photos from before coloring and from the dry result in daylight show both the starting point and the size of the mismatch. Avoid applying a temporary dark spray immediately before the consultation, since it can hide the band that needs to be examined.
A useful description is precise rather than dramatic: “The natural regrowth is about two centimeters, the front was applied first, and the hairline is lighter and more copper than the mids.” Mention previous permanent colors, lightening, smoothing services, and direct dyes even if they happened months ago. A colorist can then examine elasticity, porosity, depth, and tone and decide whether a strand test or staged approach is appropriate. The solution may involve a small area rather than the full head, but that decision depends on seeing the actual zones.
Finally, keep expectations tied to the current canvas. Matching a bright virgin root to pigment-heavy lengths is different from making the dark lengths as light as the root. The first goal may be a more even visual transition; the second can require a longer correction plan. Clear records, neutral-light photos, and restraint after the first surprise protect those options. Hot roots are not one diagnosis, and the most useful next step is the one based on the hair's history rather than the brightest reflection in the mirror.